Adding Inventory Items
Before you can track stock, deliveries, or costs, you need to define every item your business uses. Items are the master list — every count you enter on the Stock Management page and every delivery you log refers back to one of these items.
You only do this once per item, and you can add new items any time.
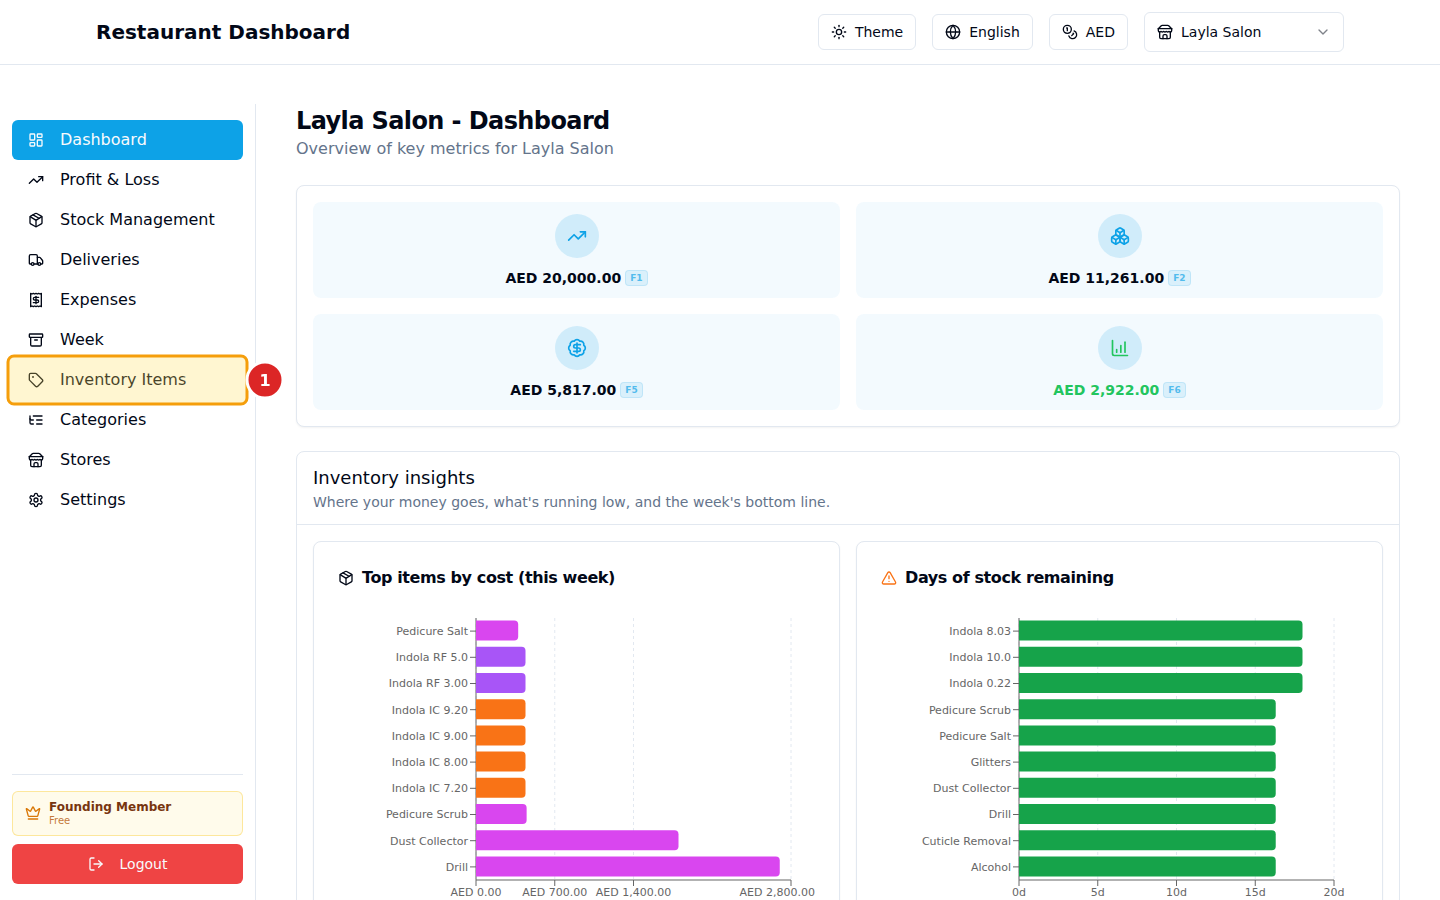
1. Open Inventory Items
In the left sidebar, click Inventory Items.
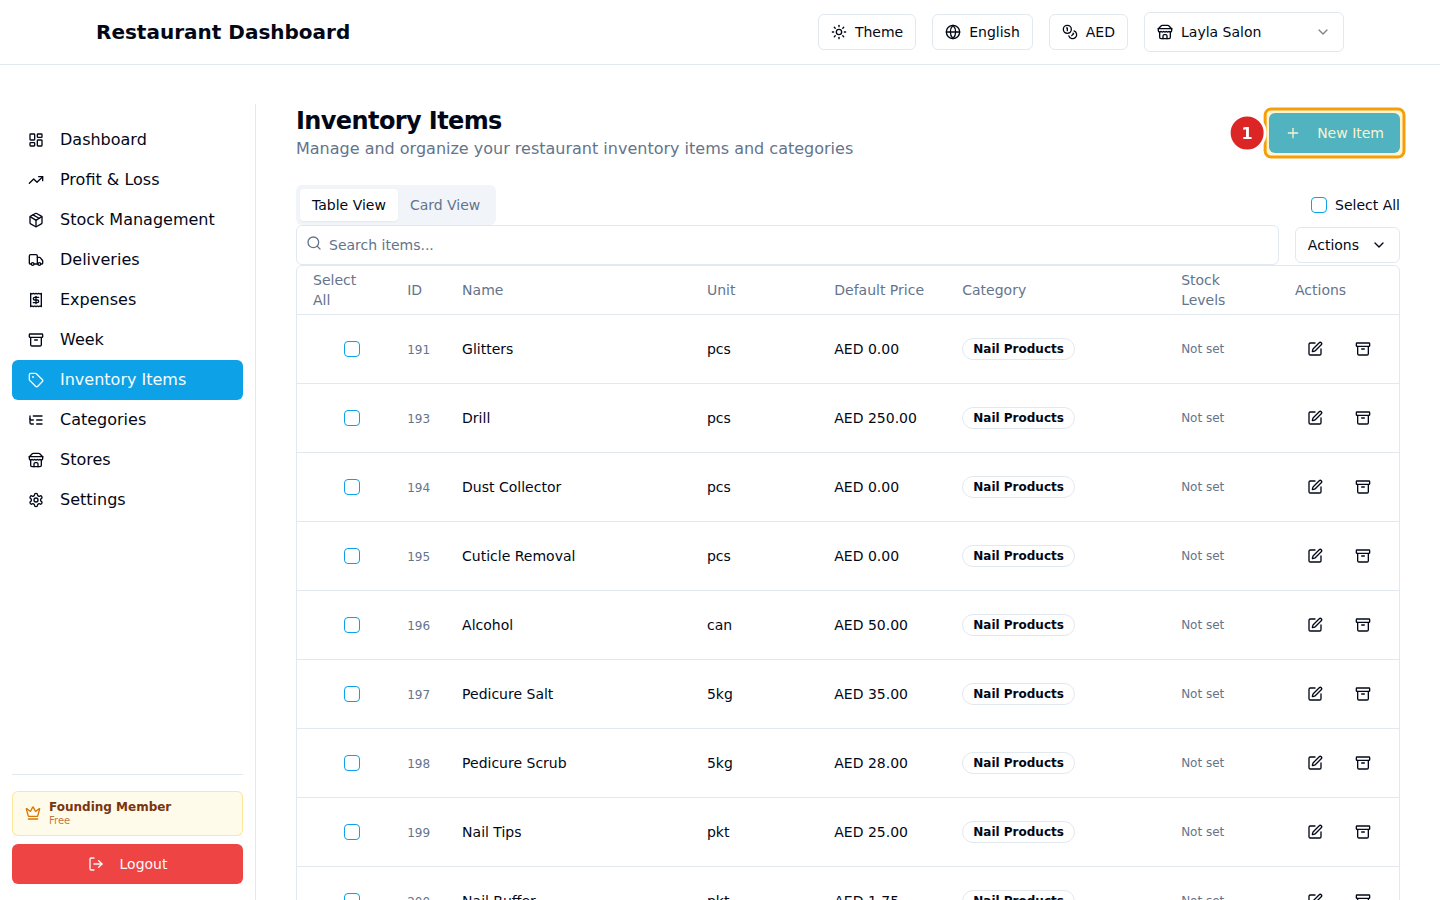
2. Click "New Item"
At the top right of the page, click the blue New Item button.
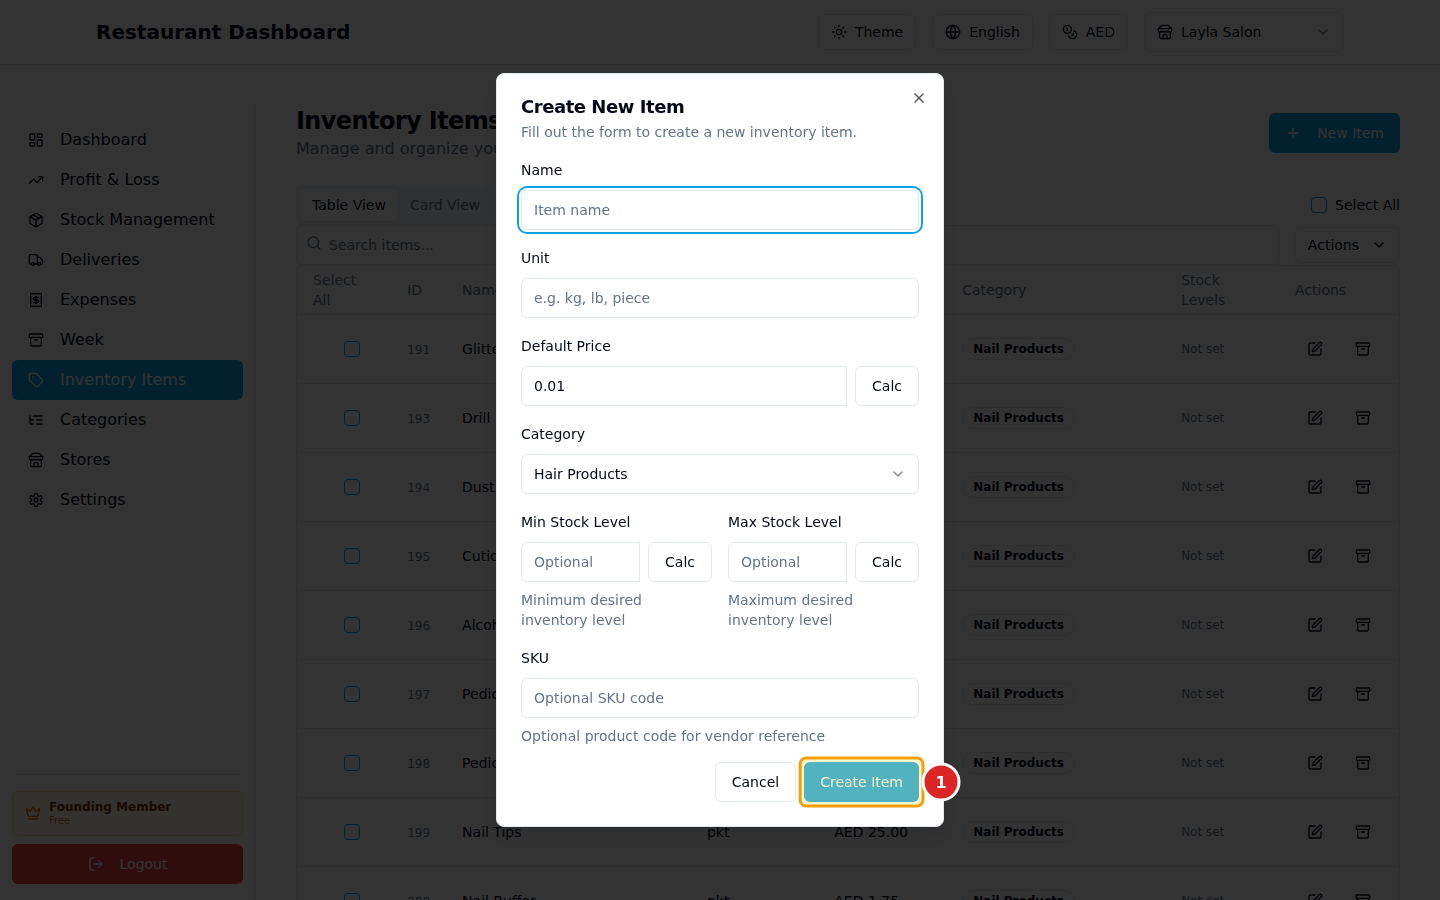
3. Fill in the form
A dialog opens. Fill in:
- Name — what you call this item (e.g. "Olive Oil", "Hair Spray").
- Unit — how you count it (kg, lb, pcs, can, set…).
- Default Price — the typical purchase price per unit. You can override this on a specific delivery later.
- Category — pick from your list of categories (or create one first from the Categories page).
The Min/Max Stock Level and SKU fields are optional — leave them empty if you don't need them yet.

4. Save it
Click Create Item at the bottom of the dialog.
The dialog closes and your new item appears in the list, sorted by ID. You can now use it on the Stock Management and Deliveries pages.
Common questions
Can I edit an item later? Yes — click the pencil icon next to any item to change its name, unit, price, category, or stock levels. Existing deliveries and counts stay linked to it.
Can I delete an item? Yes — click the trash icon. Items are soft-deleted, meaning their historical data (deliveries, counts) is preserved. You can restore a deleted item from the Show Deleted filter at the top of the page.
What if I imported items from Excel? Use the Import from Excel button instead — it accepts a spreadsheet with name / unit / price / category columns and creates many items at once.
Can two items have the same name? Yes (each is a separate row with its own ID), but it's confusing — try to keep names distinct.